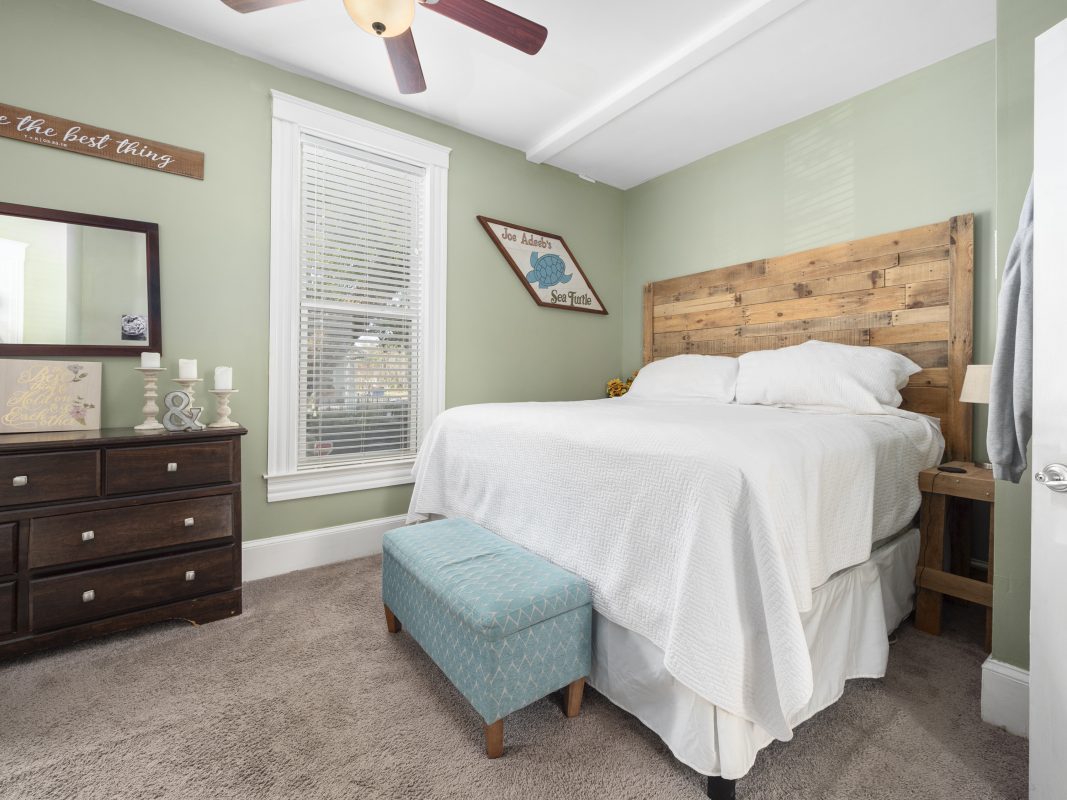
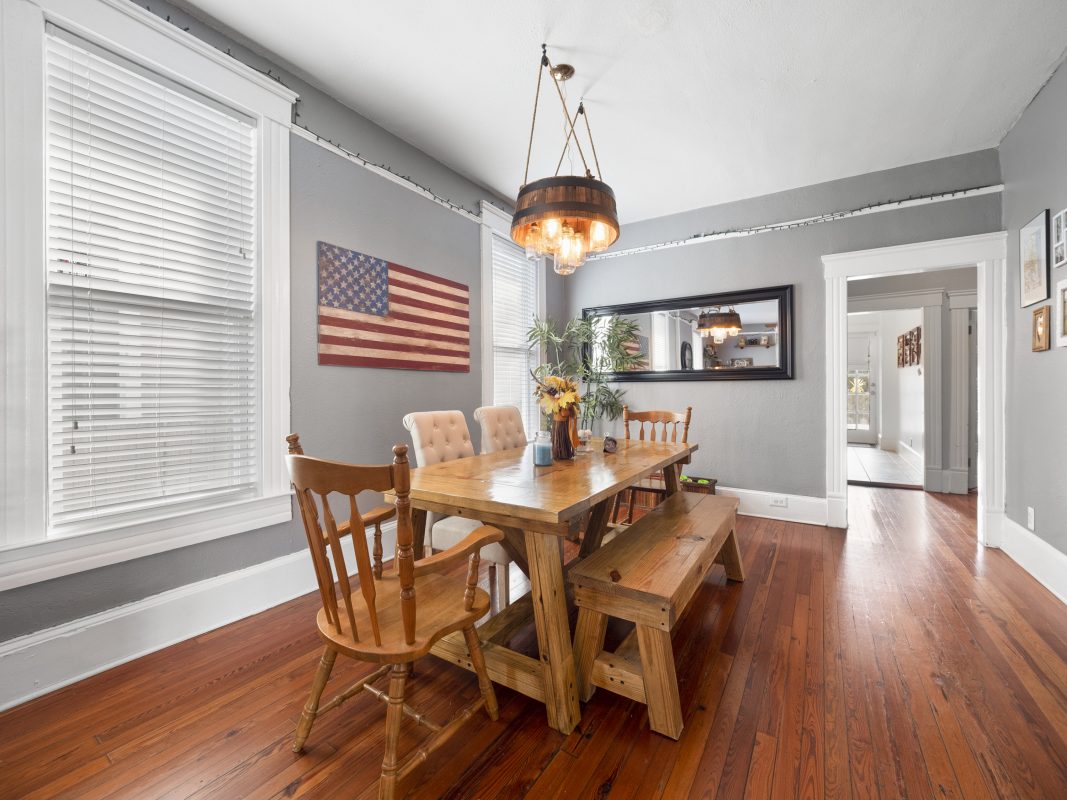
Real Estate HDR photo editing is one of the popular service that realtors and agencies use to make their photos more stunning. Then it plays an important role in attract more potential customers for their marketing campaigns. As one of leading photo editing team in VIetnam, Qblends are familiar with these tasks. We are offering a wide ranges of services from Standard Photo Editing to Day to Dusk, Virtual Staging photos. Today, Qblends would like to share with you some tips that you may need when it comes to editing HDR photos for real estate listings.
Real Estate HDR photo editing service
If you can spend time editing tasks, you can learn from one of this professional software like Adobe Photoshop and Lightroom. They have tools that support you to blend these brackets of images together by yourself. But it requires you to put much time and effort into the learning and editing tasks.
Qblends will share with you some tips for the post-processing process. It may take time and much effort. By using these tools, you can simply merge these brackets together, adjust the colors and even straighten the horizons easily. Every pictures need some step that can turn them into amazing images. Follow is to see some specific tips for editing HDR real estate photos:
Increase the Contrast Slightly
As you know, HDR photography is a special type that can help you captures a wide range of tones and colors than a traditional photograph. By taking brackets of exposures, you have chance to get vibrant colors of the images. But sometime, you may get some of your photos looking flat and lifeless if not edited properly.
First of all, you should increase the contrast slightly to solve this problem when editing your HDR real estate photos. Just a simple task like that, all the details of images are brought out in the shadows and highlights. It results in compelling photos.
Saturate the Colors Cautiously
The next thing you should consider is the colors of the room. All of us want to showcasing the amazing images with vibrant colors to the potential customers. Then when editing them, you should careful not to go overboard with the saturation. These too saturated images can lead to the unnatural pictures. That’s something we should avoid because it could turn potential buyers off. For professional editing, we aim to increase the saturation gradually until the colors look vivid but still realistic.

Straighten Crooked Horizons
Taking HDR photo with Horizon is something challenges. When shooting handheld, there may have some trouble with horizon line. As a result, there may end up with crooked horizons in the real estate HDR photos. Luckily, you can easily to find
Taking HDR photo with Horizon is something challenges. When shooting handheld, there may have some trouble with horizon line. As a result, there may end up with crooked horizons in the real estate HDR photos. Luckily, you can easily to find Straighten Tool (usually located under the transform options) in most photo editing software programs. Then your images will be amazing after straighten out any crooked lines.
Play with Saturation and Vibrance

Saturation is the intensity of color in an image, while vibrance is the intensity of less saturated colors. Both saturation and vibrance can be adjusted in Adobe Photoshop and Lightroom; however, vibrance is generally considered a more subtle way to adjust colors since it affects less saturated colors first.
When editing saturation and vibrance, it’s important to find a balance so that your photo looks natural. If colors look too intense or oversaturated, it will look fake. On the other hand, if colors look desaturated or muted, your photo will appear dull. Again, small adjustments usually yield the best results.
