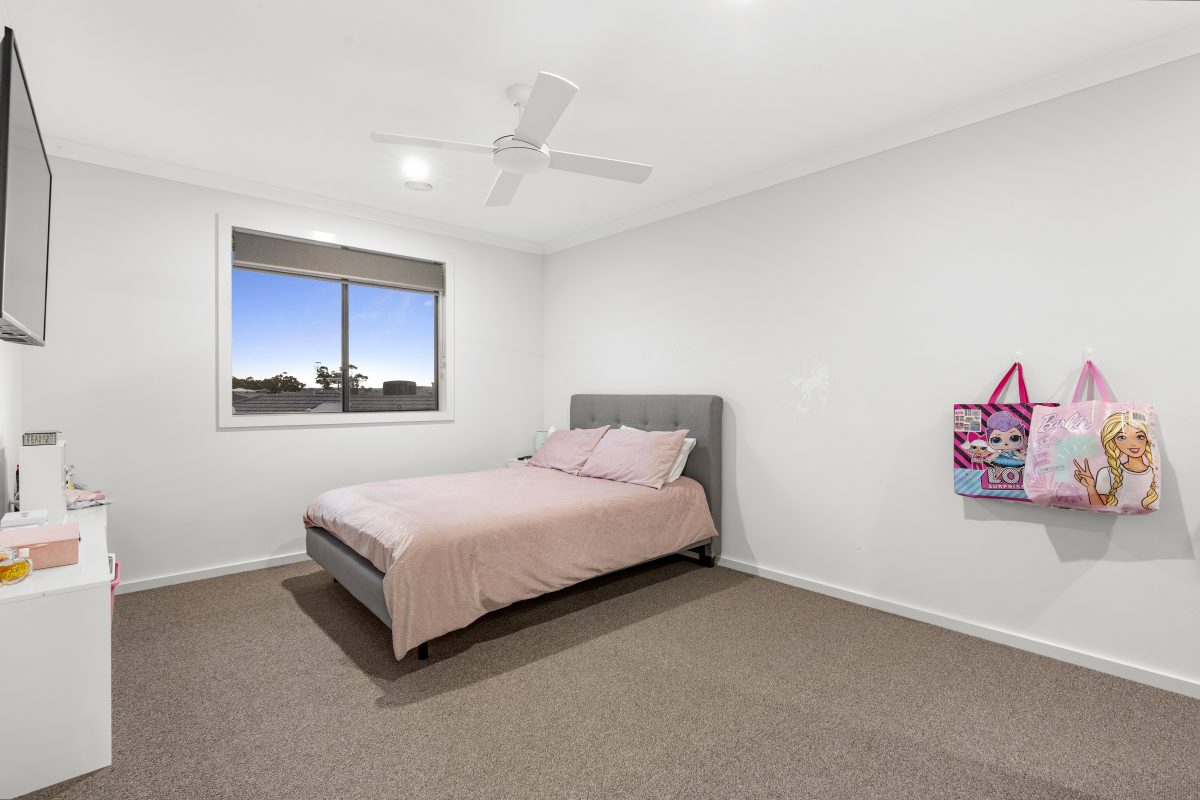
Flambient Real Estate Photo Editing is the special technique that many editors want to master to make an amazing images. Even a profesional one, you need to update the new tool to shorten the time and save more effort. So if you’re a beginner, this article is also for you. Remember that mastering the art of flambient editing can help you create stunning photos that showcase aproperty in the best light possible. Flambient editing involves blending together multipleexposures – ambient, flash, and window pulls – to create a perfectly balanced image thatshowcases the interior and exterior spaces of the property. In this guide, we’ll take you throughthe process of editing flambient style photos in Lightroom and Photoshop.
Steps to Make an Amazing Flambient real Estate Photo editing in Lightroom

Step 1: Apply Basic Color & Exposure Adjustments
Firstly, in order to edit flambient style photos, you need to apply basic color and exposure adjustmentsin Lightroom. This includes adjusting exposure, contrast, highlights, shadows, whites, andblacks. You may also want to tweak the temperature and tint of your photos if necessary.
Step 2: Basic Adjustments for Window Pulls
Secondly, window pull is the important part of flambient photograph because it is the best way to showcase the house with best light. So you’ll need to adjust for what’s outside the window.This can be achieved by applying basic adjustments to the window pull exposure in Lightroom. Adjustments should be made to the highlights, shadows, and exposure to create a balancedlook.
Step 3: Send Photos to Photoshop as Layers (Ambient, Flash, Window Pulls)
Next, at this step, it is necessary to use Photoshop to take advantage of image layers. It means, you’ll need to send your photos to Photoshop as separate layers. This involves selecting the ambient, flash, and window pull photos in Lightroom and then using the ‘Edit In’ function toopen them as layers in Photoshop.
Step 4: Re-Order Layers in Photoshop (from top to bottom)
Once you have your layers in Photoshop, you’ll need to re-order them from top to bottom. Theorder should be repair, window pull, ambient, and flash. This will allow you to easily blend thelayers together in the next steps
Step 5: Blend Together Best Parts (For Multiple Flash Photos)
If you’ve taken multiple flash photos, you’ll need to blend together the best parts to create aperfectly balanced image. To do this, select the layers you want to blend and set the mode toLighten. Then, create a hide all layer mask and paint in the desired parts. Once you’ve blendedthe layers together, you can flatten the image
