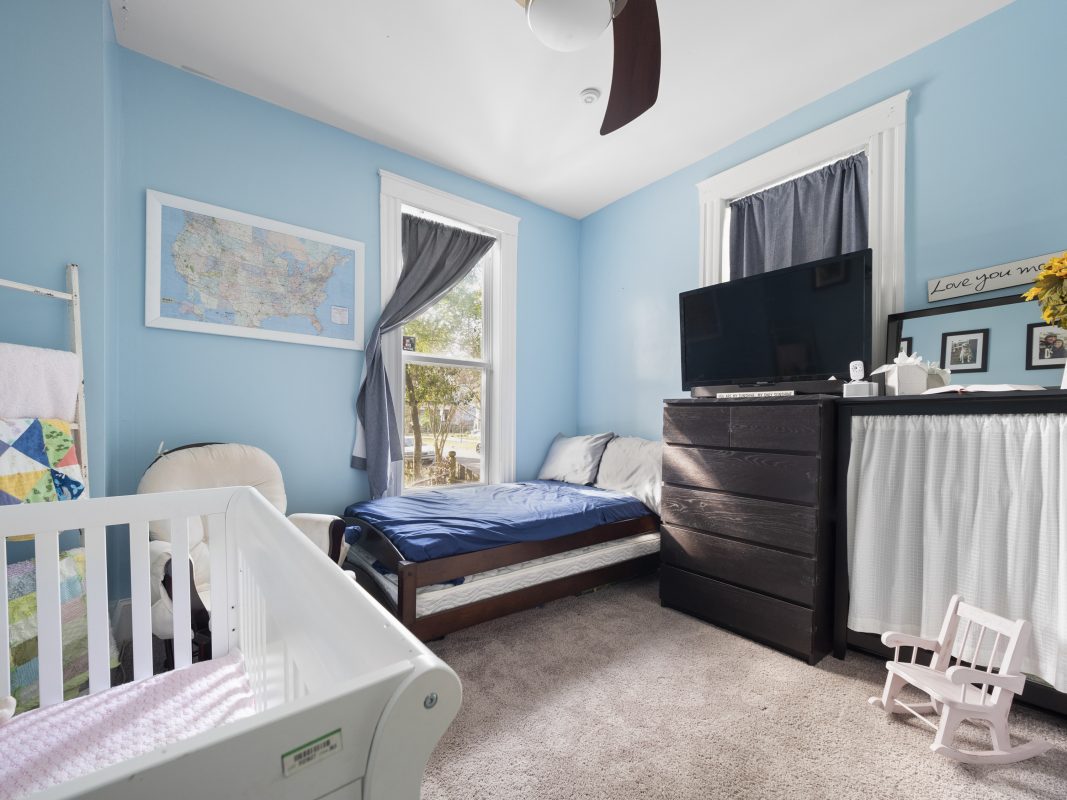
Flambient Real Estate Photo Editing is the special technique that many editors want to master to make an amazing images. Even a profesional one, you need to update the new tool to shorten the time and save more effort. So if you’re a beginner, this article is also for you. Remember that mastering the art of flambient editing can help you create stunning photos that showcase aproperty in the best light possible. Flambient editing involves blending together multipleexposures – ambient, flash, and window pulls – to create a perfectly balanced image thatshowcases the interior and exterior spaces of the property. In this guide, we’ll take you throughthe process of editing flambient style photos in Lightroom and Photoshop.
Steps to Make an Amazing Flambient real Estate Photo editing in Lightroom
Step 6: Set Ambient Photo to Luminosity Mode at 50% Opacity
Then, today we will share with you a recommendation for an amazing flambient editing process. It means, to create a perfectly balanced image, you’ll need to set the ambient photo to luminosity mode at 50% opacity. This special step allow you to blend the ambient photo with the other layers to create awell-lit image.
Step 7: Adjust Opacity for the Look You Want
Next, this is a small step that you can follow to archive the aim. Once you’ve set the ambient photo to luminosity mode, you can adjust the opacity to achievethe look you want. The exact amount will depend on the specific photo you’re working on.
Step 8: Mask Your Window Pull
Then, this step is rather important, espcially with window pull images. After adjusting the opacity, you’ll need to mask your window pull layer. You need to switch the layer todarken mode to remove any overexposure, and create a layer mask. Option-drag the layermask button to duplicate it, then use the lasso tool to cut out the window. Press ‘x’ on yourkeyboard to set the color to black and use the brush to fix anything that needs repairing.
Step 9: Repair Reflections with Layer Mask
Moreover, please take more attention at the layer mask. If there are any reflections in your photo that need repairing, use the layer mask to brush in therepair at 30% flow. This will create a natural-looking image that showcases the property in thebest light.
Step 10: Darken
Besides, just check the images again. Once you’ve made all of the necessary adjustments, you can darken the image to create a moredramatic effect. Use a hide all layer mask and brush in the repair at 30% flow. This will create anatural-looking image that showcases the property in the best light.