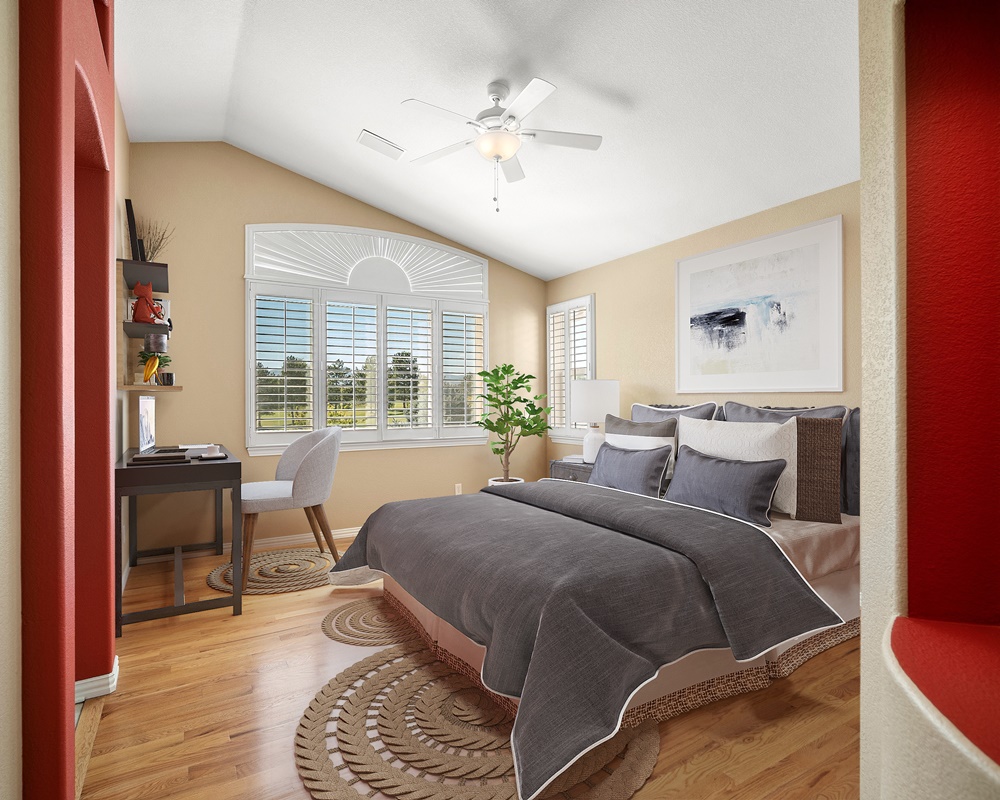
The Real Estate flambient photograph plays an important role in performing your property. Because you have more chances to use a blend of flash and ambient lighting—hence the term “flambient.” This technique is popular among real estate photographers because it combines the natural warmth of ambient light with the clarity and color accuracy of flash photography.
Today, Qblends will share with you the shooting techniques of real estate flambient photography. In this kind of image, you should take at least 3 photos of a room from the same position. This way, it is easier for editors to blend the flash and ambient exposures to create the final image.
Real Estate Flambient Shooting Techniques

1. The Ambient Shot
We recommend to shoot this exposure first of all. This commercial shot is taken without flash, as you rely solely on the natural lighting of the property. Set your camera to RAW to maximize the dynamic range boundaries and expose the shot in the middle.
Take as many ambient photos as you see fit. On some occasions, you’ll only require a single ambient shot (0). In other situations need 3 (-2, 0, +2), 5, and more.
If you’re taking photos of a property with extreme lighting conditions, consider creating a bracket of 3 shots. Start with the mandatory (0) exposure and then take a shot with +2 and -2 to capture all the highlights and shadows.
2. The Flash Shot
The Flash shot is the most important element of flambient photo. People aim to take a properly-exposed photo with an appealing window view. Then they can get the natural wall colors, and a bright interior that is lit by the flash.
The best way to do flash photography is to remove the flash unit from the camera. Ideally, you should place it anywhere between 18” (45 cm) and 2ft (60 cm) below a white ceiling while aiming it directly upward.
Of course, you have the option of keeping the flash mounted on the camera. But the photos you’ll take will likely have flash-caused shadows from various interior objects.
The optimal flash strength is determined by how much exposure is needed to have the windows properly lit. Since the flash doesn’t affect anything outside the window, set the exposure according to the view and increase or decrease flash intensity until the interior is properly exposed.
3. The Window Shot
If the property has a particularly beautiful or important window view, I suggest taking a third photo specifically for the windows.
You can start by aiming a powerful flash unit straight at the window frames. Such an approach might sound unintuitive but aiming the flash straight at the window will allow you to enjoy a much smoother blending process during the image post processing stage.
Try out different angles until you’ve found a shot that has the smallest amount of flash reflections. If it’s possible to get rid of them completely, experiment with lighting for real estate photos — turn off the flash and take one picture without it while leaving the camera exposure parameter untouched, and later add that photo to the blending process.
