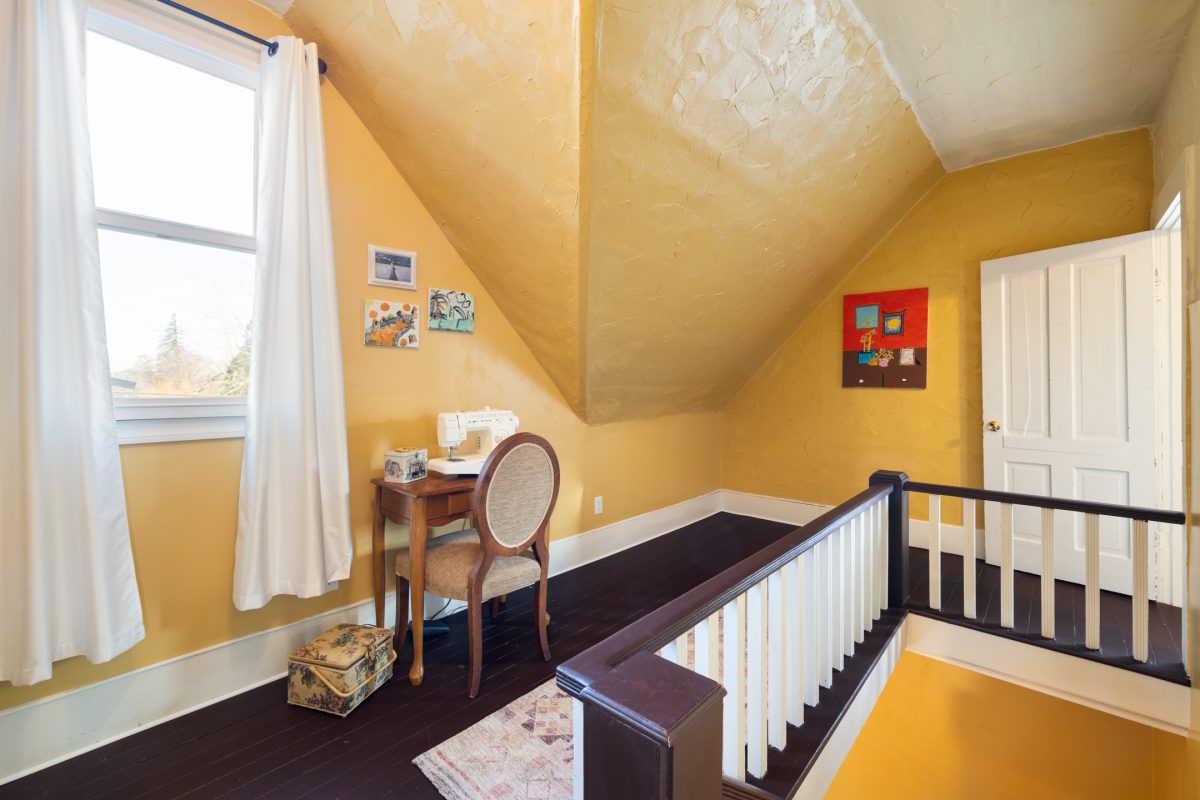
Real Estate HDR blending is how you take advantage of modern technology to improve the quality of your images to make it appealing. This is a great way to make properties look their best by capturing both the brightest and darkest parts of a scene. There are many ways you can apply to make your house shine. Today Qblends will share some tips to help you achieve better HDR blending in your real estate photography.
Enhance Real Estate HDR blending
Take Multiple Exposures:
First of all, you need to well-prepared for your capturing shoot. Beside a great camera, you need to capture at least three different exposures – one underexposed, one correctly exposed, and one overexposed. This will give you a wider range of details to work with. Then you can easily to blend them together to get the perfect light for your HDR images.
Use a Tripod:
Secondly, one tip you may need while capturing house. It is how you keep your camera steady to avoid any shifts between exposures. It is quite important though the outdoor factors can change your images much. And a tripod is essential for consistent alignment.
HDR Software:
Then, After having some great material, you now can use HDR-specific software like Adobe Photoshop, Lightroom, Photomatix, or Aurora HDR to merge your exposures. These are intelligent programs that offer tools to adjust the blending process for more natural results. But you need to take time to understand all these functions to make sure you can enhance the images in the short of time.
Adjust Tone Mapping:
This note is quite important for newbies who are not familiar with HDR blending. Because you need to have the experience for editing these images for a long time. So we recommend you should experiment with tone mapping settings to ensure that the final image looks natural and not overly processed. Look for a balance that highlights details without losing realism.
Reduce Noise:
Noise and some additional factors can effect to the quality of HDR images. So this blending process can sometimes introduce noise, especially in the shadows. Use noise reduction tools to clean up the final image.
Final Touches:
After blending your HDR images, make sure to fine-tune the final image with adjustments to contrast, saturation, and sharpness to enhance the overall look.
If you need more specific advice or have any particular challenges you’re facing, feel free to contact us cs@qblends.com.