Preparing top-notch real estate photos doesn’t end when you press the shutter button. Instead, there is post-processing tips to create images that have maximum appeal.
1. Editing Real Estate Photos: Pay Close Attention to Color Temperature

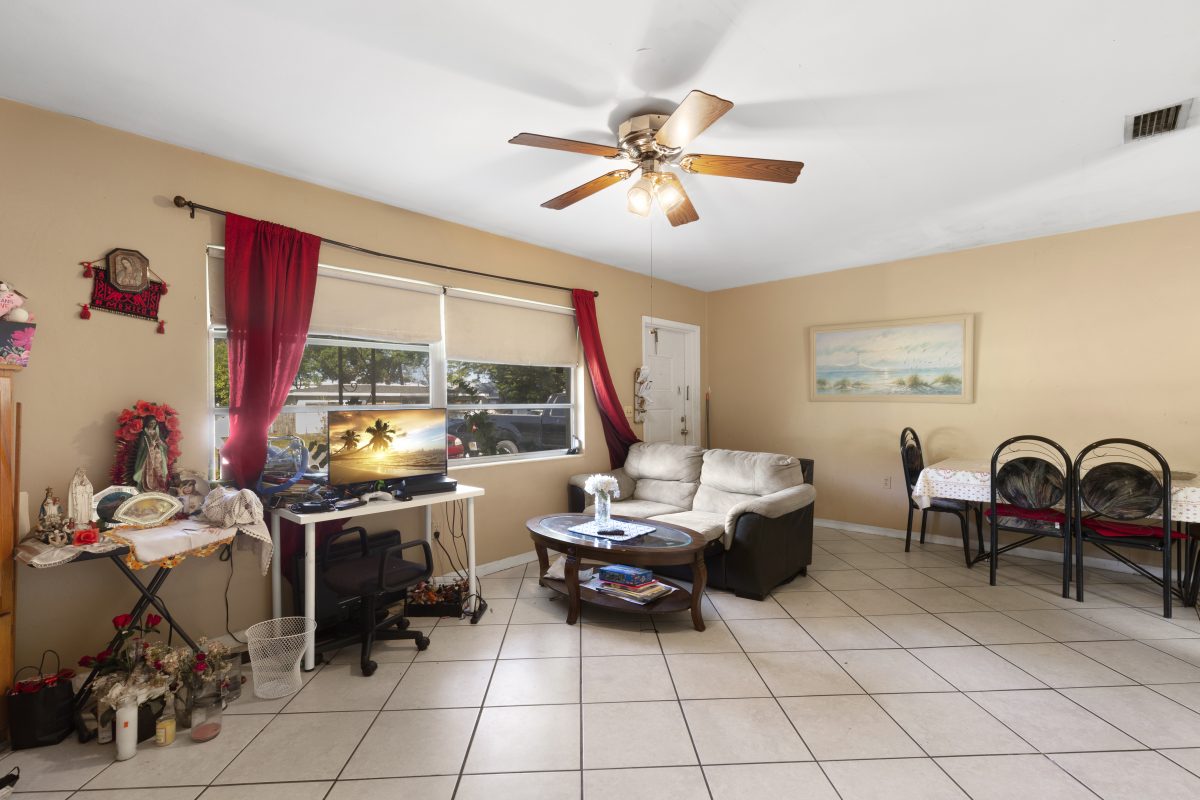
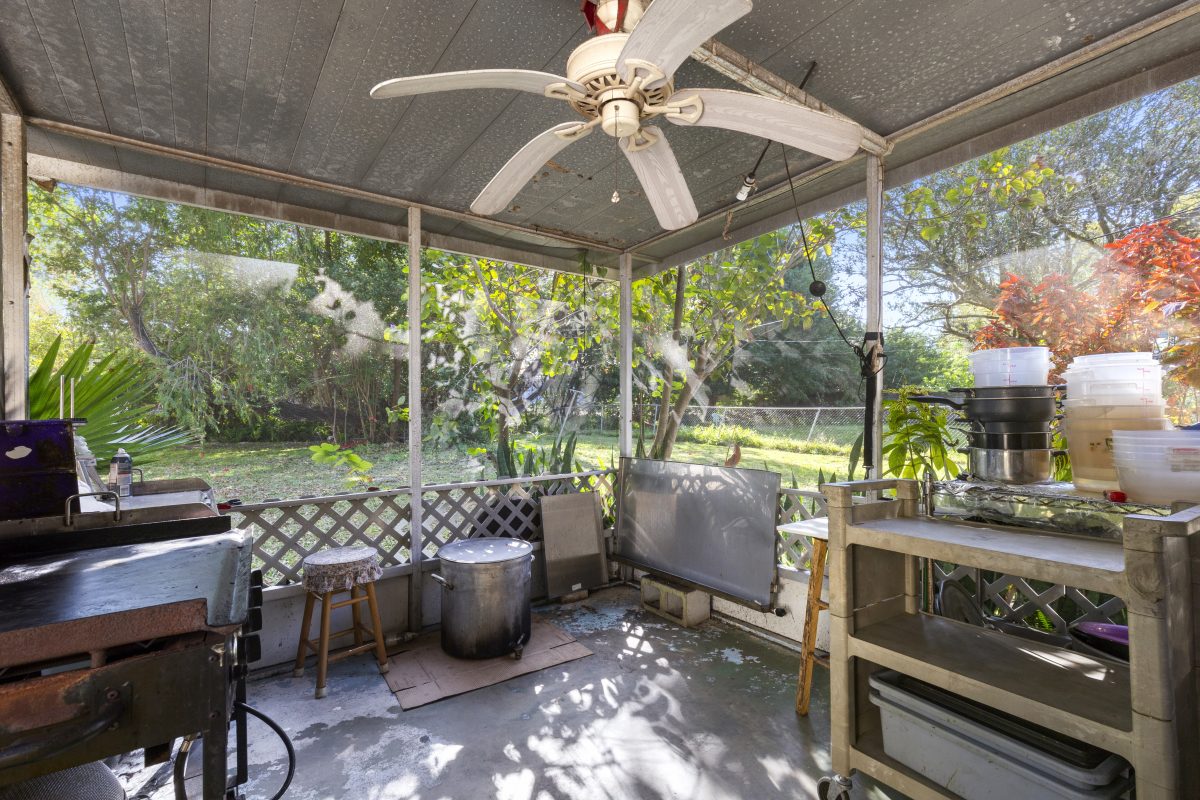
As you edit your interior photos of properties, you might notice color temperature variations from one room to the next.
The color temperature of the images depends on the available lighting. For instance, a living room with many windows might have a cool color temperature.
However, artificial lighting can be quite warm, so a room with few or no windows might photograph with a yellowish hue.
As a potential buyer surveys the images of the home, it can be a little jarring for the color temperature to change from image to image.
As a result, ensure that you keep an eye on the color temperature and make needed adjustments so it is consistent throughout the collection of images.
Post-Processing Tips: Merge Bracketed Exposures for the Best Results
As we discussed, if you rely on the process of bracketing exposures, you don’t need artificial lighting gear.
Not only is this approach advantageous from a budget perspective, but it’s also a time-saver. On the one hand, you don’t have to carry around and set up lighting equipment while on the other hand you can make faster work of processing your images.
Post Processing Tips : Keep It Natural

When photographing real estate, the secret for having a successful photo is to keep the images looking as natural as possible. Part of that endeavor is the processes outlined above for correcting color and getting well-exposed images using an HDR technique.
In addition to that, you’ll get more natural-looking images if you straighten lines. Whether lines appear bent due to the angle from which you took the photo or they’re bent due to lens distortion. You can get the end result is that bent lines will be a distraction to potential buyers.
