Virtual Staging is a modern technique that require much effort and high cost. So in order to get the effective result, all realtors and stagers need to do it well to ensure to get the smooth process. So first of all, realtors need to prepare for the house and make it perfect for the shooting. Check out these necessary tips to ensure to get the high-end final photos for your Virtual Staging outsourcing.

Tips for shooting great exposure for Virtual Staging
All photographers want to take great exposures for perfect home’s appearance. As a professional photographers, they all know which angles and composition to take photos. This way, they can get the larger room with more space for Virtual Staging. Here are a few tips to make sure you’re shooting the best possible image for virtual staging:
1. Take top-quality photos

Virtual staging furniture is the way you decorate your room and make it lively with many different designs. It can be the modern design with lots of decorations, or vintage bedroom with specific colors, etc. So in order to make it stand out from the rest, you need to take the high-quality photos. So it is easier for stager to choose the suitable furniture and enhance the photos. Since virtual furniture looks so real, you’ll need to take high-resolution photos in order to make sure your images don’t end up looking fake.
So bear in mind to take the photos in a RAW file format with a high-quality DSLR camera to get the better result. And your virtual stager get the best change to make your images look as realistic as possible.
2. Use a camera with high dynamic range (HDR)
Thanks to the development of the technology, real estate photography can deal with the wide range of lighting. It means we can get the stunning high-quality images for your property with using a DSLR (Digital Single Lens Reflex) camera. It is hardly to get such a wide range of lighting with using a cheap camera or even high-end smartphones.
So all real estate photographers need to go with a DSLR that features an auto exposure bracketing feature. So they can save more time and effort to set the camera to get the high-end result.
With using bracketed images, editors will help you to blend them together to get the perfect photos. The result is a single photo wherein all areas are in perfect exposure, emphasizing each detail beautifully.
3. Turn on all the lights

If you are going to stage an interior room, you should bear in mind to turn on all the light first of all. This can help you get enough light for the images. And also make the rooms a more natural and look. So stagers can easily to enhance your photos for you, to get the white balance and deal with shadows and shading. Once we can make your photos look beautiful, you can get the Virtual Staging photos that feel natural and realistic.
4. Keep rooms empty as much as possible to get perfect Virtual Staging photo

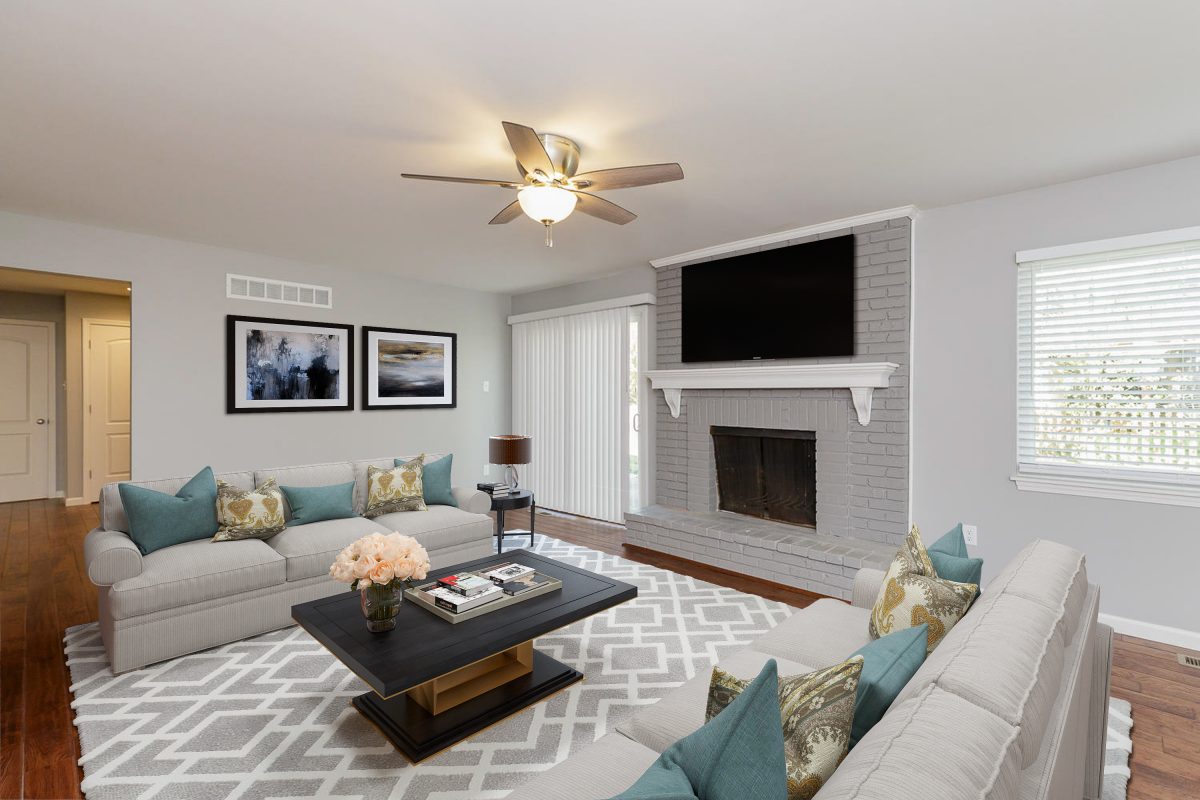
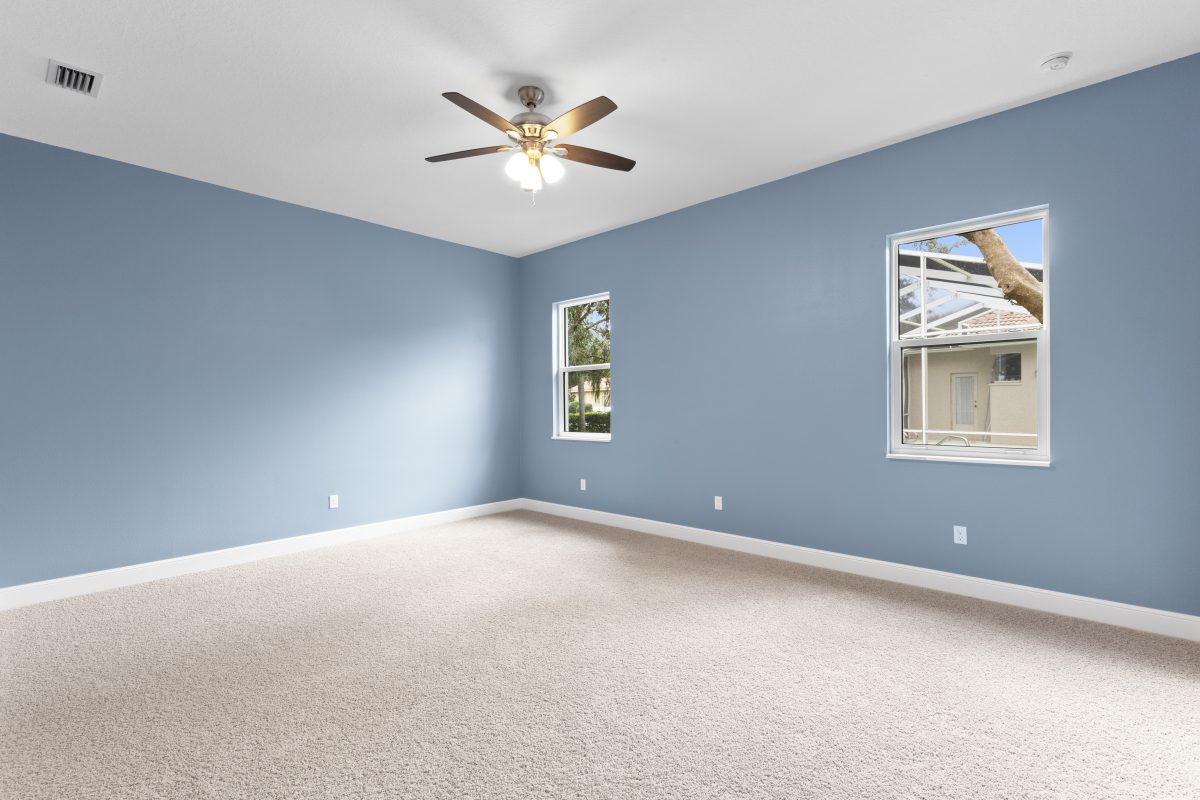
The primary purpose of virtual staging is to bring furniture and decor into a vacant house. As such, it is best to keep the rooms as empty as possible.
Take away distractions such as extra furniture, decorations, toys, and other unnecessary clutter. The emptier a room looks, the better. The goal is to make the room an empty canvas so that the virtual staging artist can work their magic!
5. Shoot in landscape
When it comes to staging your outdoor space, you need to choose to shoot in landscape, not portrait. It means you can get wider angle with wider image for your property. This way, you can get more space for Staging process and put your house in the perfect context. By showing the connection between the house with the nature, you can create the peaceful smooth for viewers. And they will love to see your photos and your Staging area. It can result in the sucessful of your Virtual Staging process.
