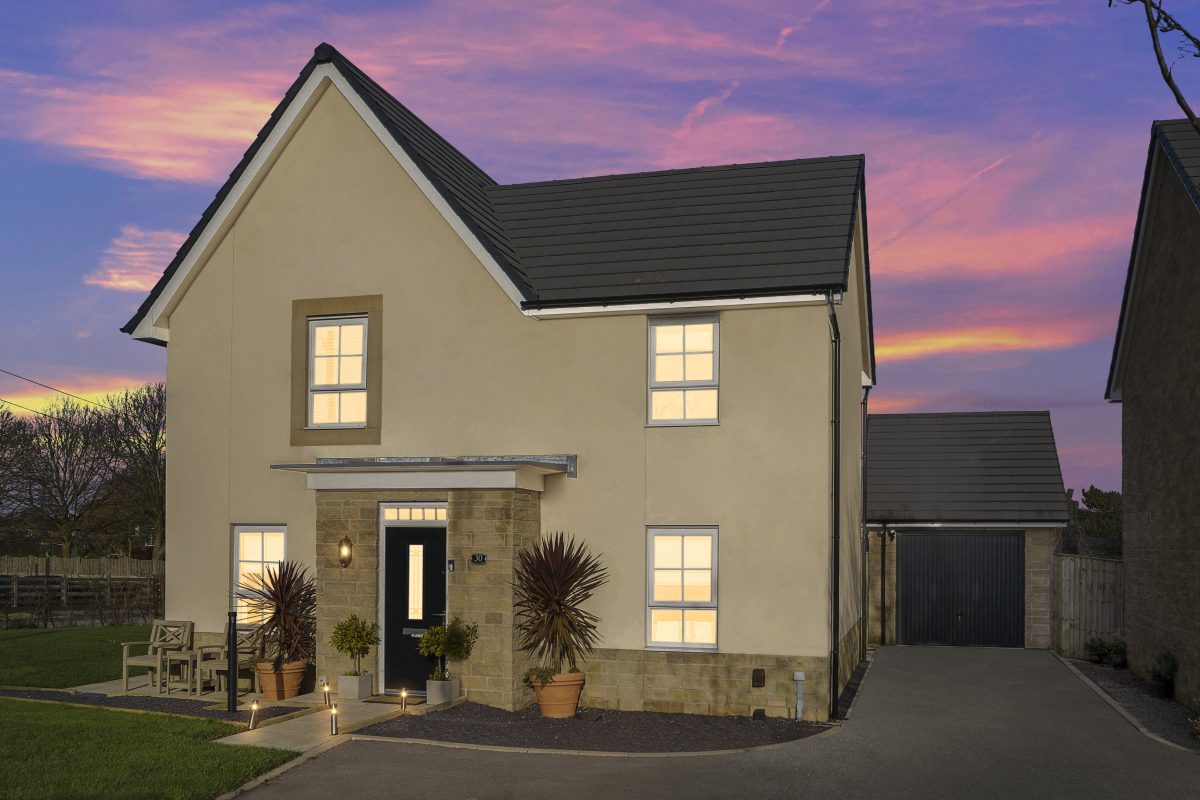
Real estate Twilight Photos play an important role in the success of your property listing. Because in this competitive field like Real estate, we need to make the house stand out from the crowd. The best real estate twilight photos should have a combination of external and internal factors. Remember that the ambiance and overall property appeal can significantly affect a homebuyer’s decision.
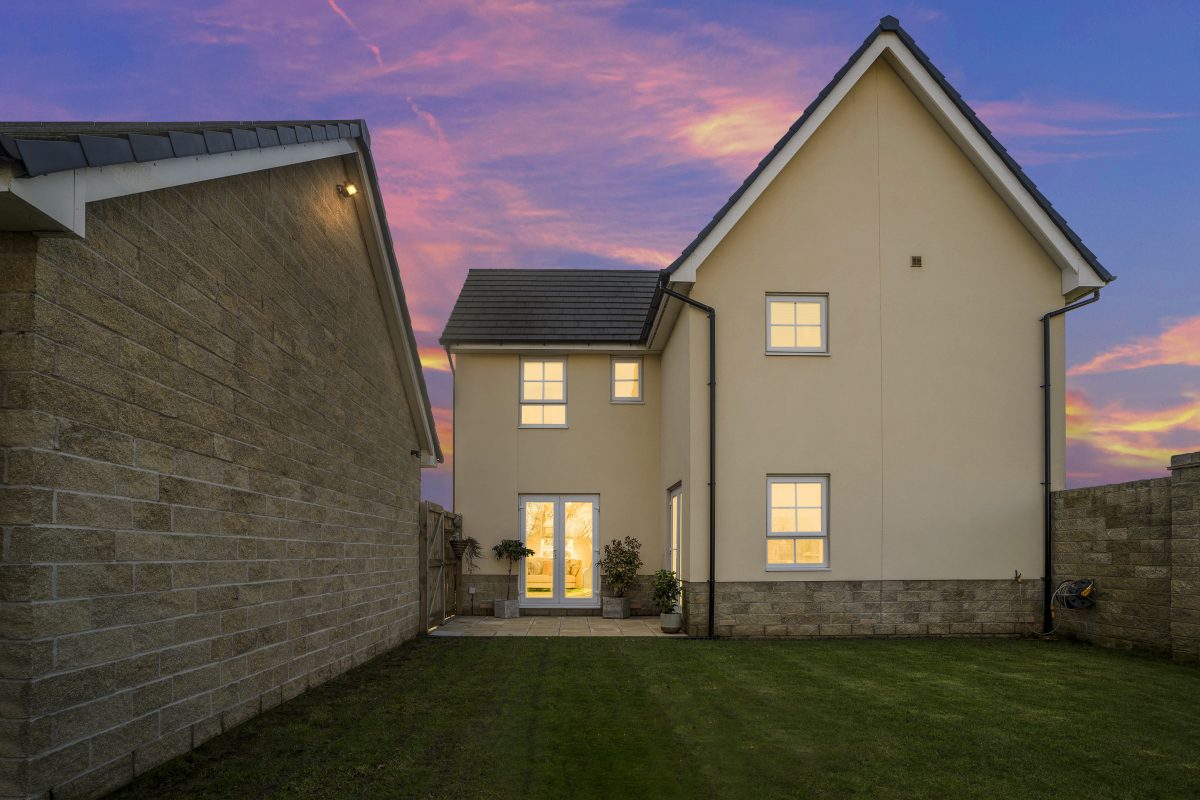
If you’re hiring real estate photo editing services or editing photos on your own, it’s essential to apply the rules of virtual twilight editing in your photos. This technique will make the images more appealing to the naked eye as exterior photos look best during sunset.
Decide on an Overall Look for the real estate twilight photos
Planning ahead for the overall look of the property to decide to emphasize which features of it. It is the first step to creating beautiful virtual twilight real estate photos. Then it can easier for editors to optimize image processing. First of all, you should choose the most beautiful photos for each type to edit. For example with interior photos, you have around 20 photos. Then pick approximately 10 or 12, make lens correction adjustments, and cull the images you want to edit.
Separate the Image as Layers
The next step is separate images as layers to edit. First, you have to import the images into Photoshop. Then choose the most beautiful ambient photos to make your bottom layer. Then you need to correct the lens and increase the luminance of every twilight exposure. Twilight shots require editing each of them differently in Camera Raw.
Edit the Image
Now you have 2 layers: foreground exposure for the ground layer and sky exposure for the sky layer. Then you may put your fused file on layer zero and label it. Drag your foreground image on layer one and label it, and finally put your sky image on layer two. Bear in mind that you need to duplicate these layers before you begin editing. It plays an important role in the editing process.
The next step is masking the sky layer into the foreground layer. Use Photoshop to merge these two layers and duplicate your merged layer. Pay attention to the lighting in the images. If it still needs to be more balanced, place your fused layer underneath the merged. Then decrease the opacity on the merged layer to the desired amount. Finally you can merge these two layers.
You can treat the image after organizing the layers. Remember that you’re only enhancing the scene with a crisp light in this step, so don’t go overboard.