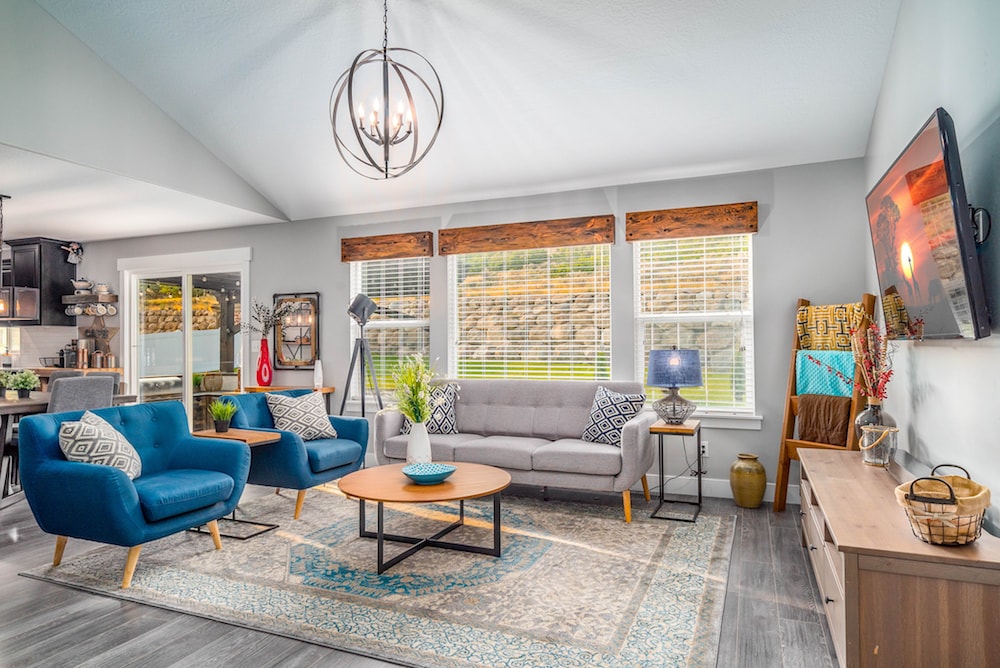
High-Dynamic Range (HDR) photography is a photography technique used to reproduce a greater dynamic range of luminosity than what is possible with standard photography techniques. It involves taking multiple photos of the same scene at different exposures and then blending them all together.

In real estate photography, this enables the photographer to take and then blend shots so that details inside a room are visible, but so is the view outside a window. With a normal photo, the room would be clear and visible, but the view outside the window would be overexposed.
We recommend using five bracketed photos (all at a range of exposures, light to dark) to create one well-exposed image. This way we have a detailed range of photos we can edit the different amounts of light.
Basic Gear Requirements:
- Camera – Use the best DSLR digital camera you can get your hands on… Sorry, but this isn’t a smartphone! The better-quality image you supply us, the best editing we can do.
- Flash – The same as camera quality, you also want to be using the best external flash that you can access. If you have access to a larger one always use it! We recommend a “fill flash” only. So, turn the flash to the lowest setting possible.
- Tripod – Using a tripod is essential and a must if you’re wanting to do HDR/bracketed photography, his ensures that all photos are free of movement or fuzziness. Still photos are essential for realistic bracketing.
Basic Camera Settings:
- Setting ISO (film speed) to 100. This creates the sharpest and clearest results and using a medium or large jpeg setting is best when sending photos through our system.
- We recommend not shooting too wide if you have a DSLR and wide-angle lens. Regarding settings, it is best to have cropped sensor 12mm interiors and full frame 17mm for best results.
- If you have it, set your aperture priority to F7.1-11 which is best for real estate photos making your images the sharpest. If you don’t have this setting, simply use “Auto/Program” if you aren’t confident in changing your camera settings.
How to take the best HDR shots
It is best to take a photo of the interior first and make the image appear overexposed. Once you have this first shot, use the cameras exposure compensation buttons (-/+ buttons) to manually adjust the light “darker” so the window details are still present. Capturing three images is ok, but best results come from taking three to five images at different exposures. Ensure you have one even exposure and a few others in between, the idea is to capture different levels of detail in each image, so you can easily blend a perfect image as you wish.
To take them manually, set the camera up in manual mode and then adjust the aperture or shutter speed to give you a brighter or darker image. The simplest way is to use your camera’s exposure compensation function. The way to do this is:
- Set your camera up on a tripod, so there is no movement between shots
- Take a picture that is properly exposed. If shooting an interior ensure you are using an external flash.
- Use the camera’s exposure compensation option to underexpose your image by one to three stops (-1 to – 3)
- Do the same again, but overexpose by one to three stops (+1 to +3)
- You should then have a minimum of 3 shots.
