Real estate twilight photography has many advantages. It can help you build your business and client base, and it can add a high-value product to your services. Let’s first take a look at some of the pros and cons of twilights for real estate photography. Then we’ll realize that how a twilight photography advantages help your business.
Benefits of a Twilight Photo
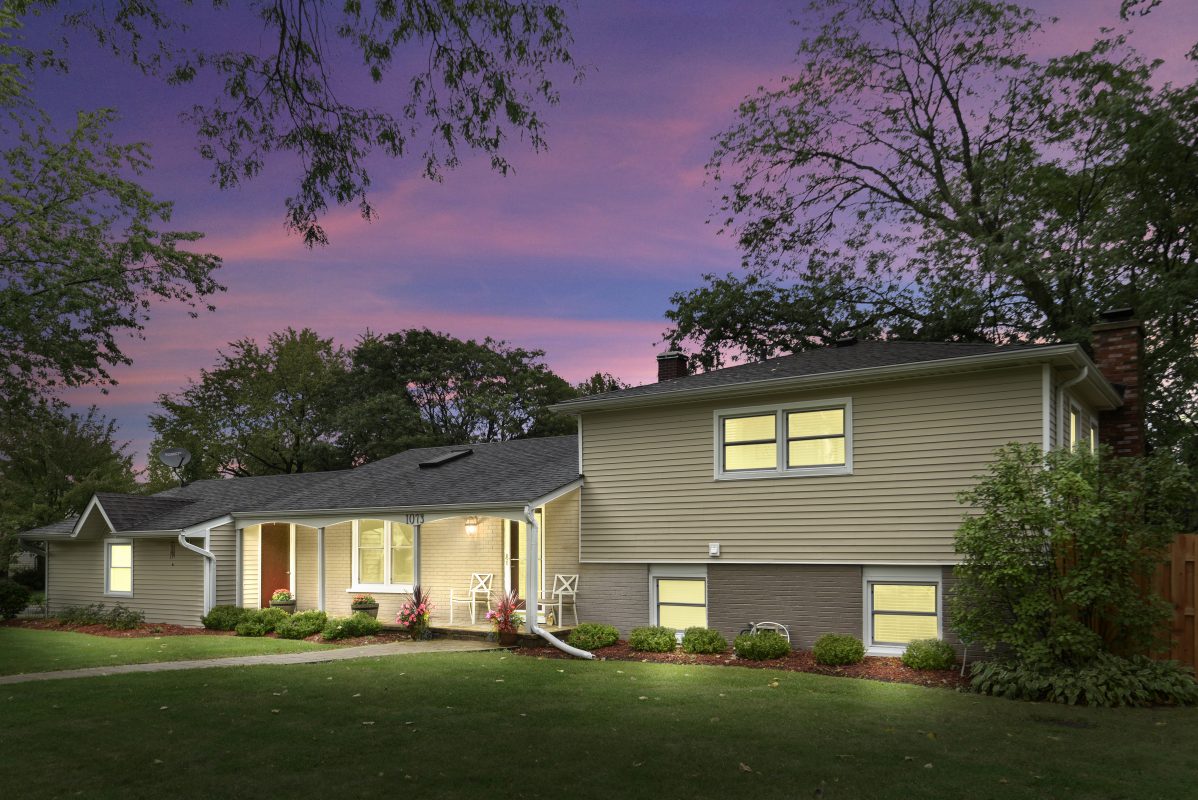
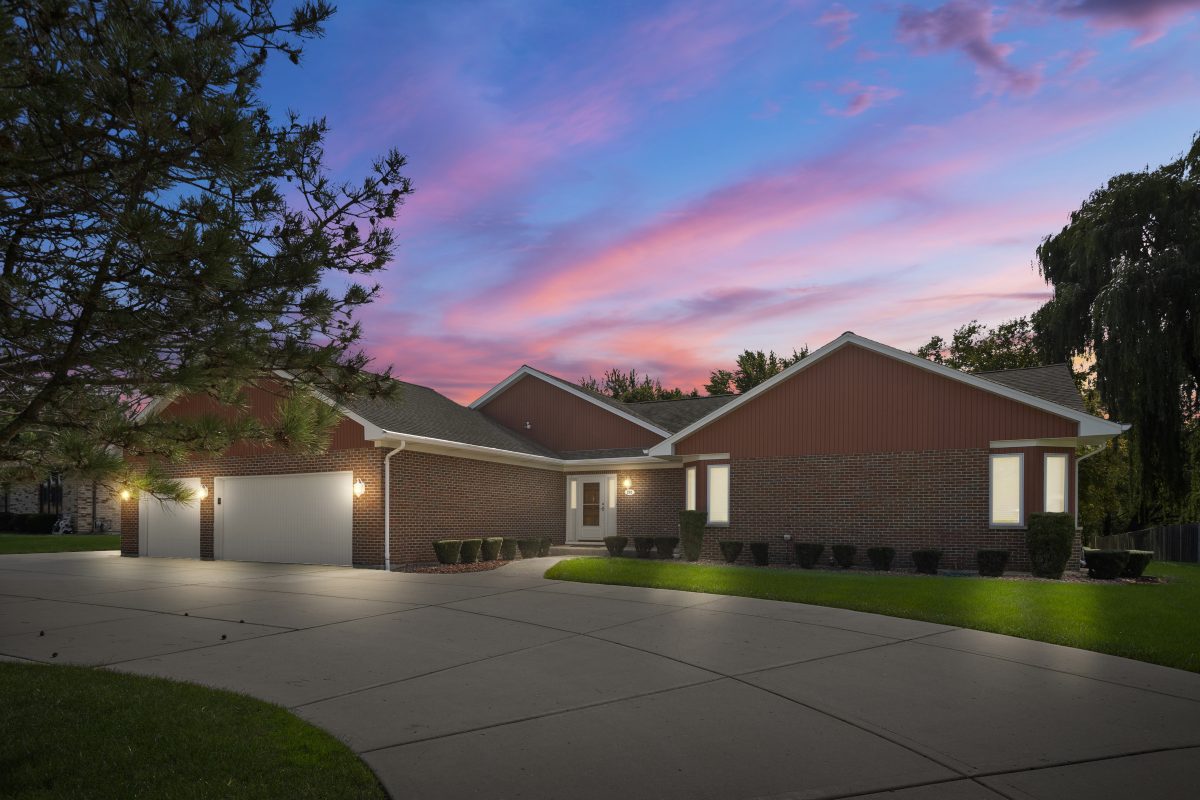
- They look cool. They just do. (Although they have to be done correctly!)
- They showcase property lighting that a buyer generally doesn’t see because they most likely are viewing the home in daylight.
- Allowing you to stick out from your competition by offering a service they don’t offer.
- Allowing you to add a high-value (aka $$$) service to your product list.
- Bringing clients to you who normally list higher-end properties, and are more likely to use twilight photography services.
Disadvantages of a Twilight Photo
- The end result can look so cool that it’s not very realistic to what buyers will see in person.
- Photo editing twilight take time.
- They require you to schedule your shoot at sunset which could be rather late in the evening hours of summer months.
- Because they are done so late in the day, you may need to lighten your schedule earlier in the day or lighten the following day so you have time to process shoots and meet deliverables.
How to Take a Twilight Photo for Real Estate
- Best Time
- I take the twilight photo around 15 minutes after “sunset time”.
- Have the agent/seller remove solar screens/window coverings, and open the blinds
- Turn on all interior and exterior lighting
- Shoot from tripod so the camera doesn’t move between exposures
- Shoot at f/7.1 @ 320ISO
- Chimp with the promotion control, going from a dark exposure to a bright exposure
- You want an exposure where you can see some of the interior through the windows, an exposure for a well-lit exterior and an exposure for a “white sky”
- We use a “white sky” exposure to replace the sky with a new sunset
- Pull the 3 selected exposures into Photoshop, via Edit In… Open as Layers in Photoshop.
- Put the brightest exposure as the top layer, then medium, then dark should be bottom layer
- Copy/paste a new sunset sky onto its own layer
- Using layer masks, blend in sections of each layer where appropriate
- Delete the white sky out of the top layer to allow the sunset sky to be visible
- Flatten the image and close it, saving to Lightroom
- Make final tweaks/adjustments where necessary
Enjoy shooting twilights!