All home buyers want to be able to visualize themselves living in a new home. However, having a would-be buyer imagine their future home can be difficult if he or she is looking at an empty home.
Fortunately, there is a way to add beautiful furniture and decor to an empty home that’s fast, easy and won’t break the bank. It’s virtual staging.
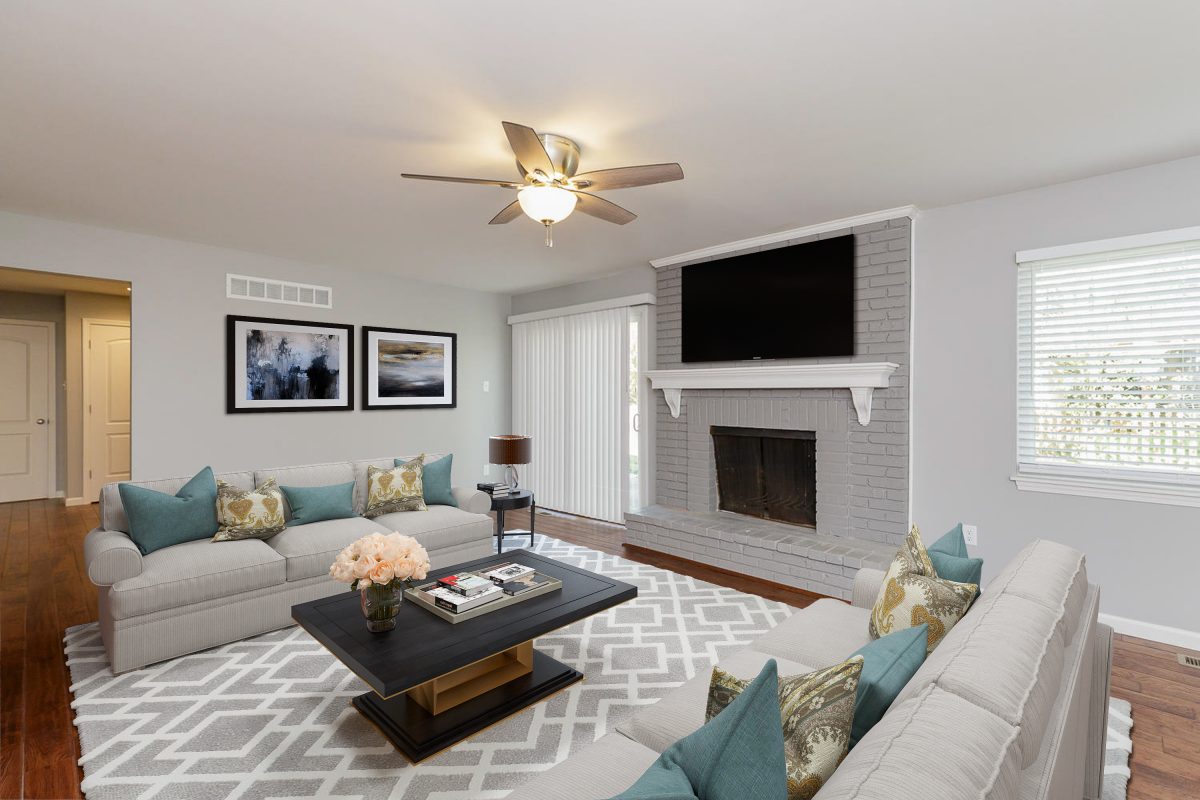
Virtual staging helps designers creating realistic furniture, decor, and accent pieces then integrating them into an image of an empty room. And, the best part is that virtual staging is typically faster and cheaper than physically staging a home.
Check out this article to see the other advantages of virtual staging.
As a real estate photographer, you’ll want to think about your process a bit differently when shooting a home that’s going to be virtually staged. Here are a few tips to make sure you’re shooting the best possible image for virtual staging:
1. Take top-quality photos
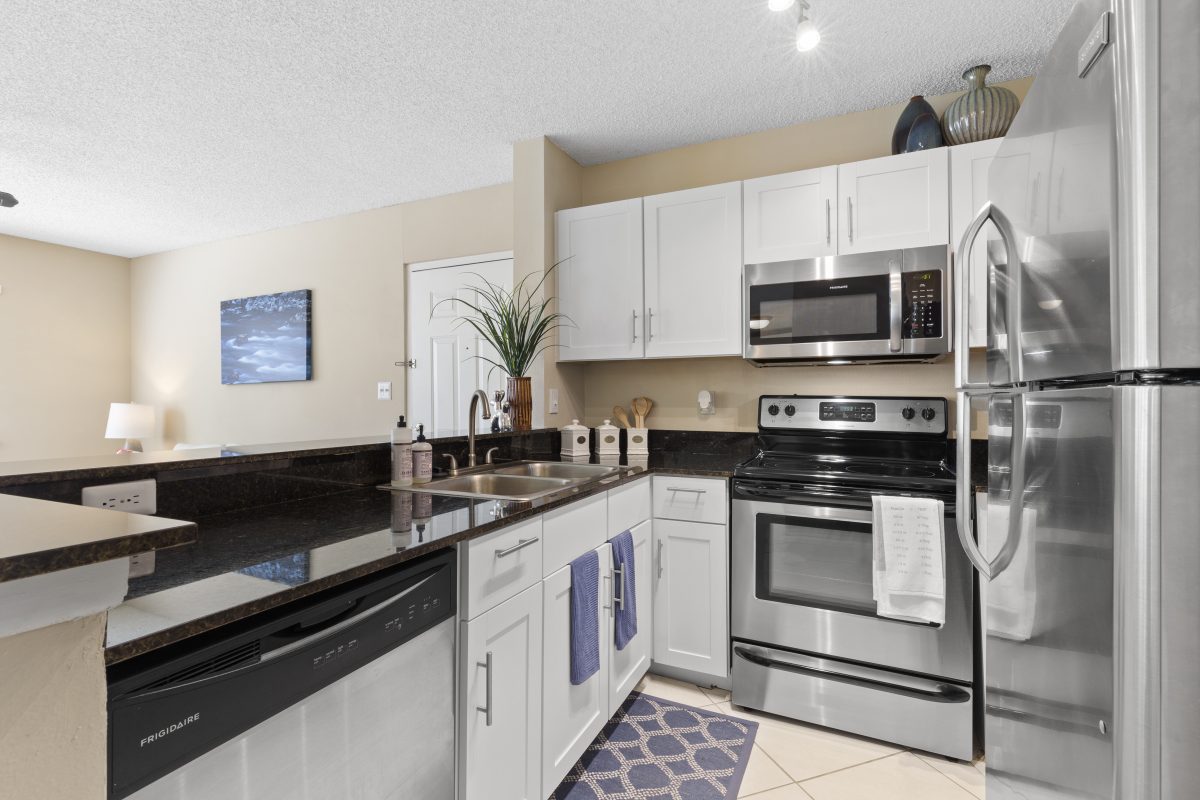
Virtual staging furniture is meticulously designed to resemble real furniture, decor, and appliances that you would find in a home. Because virtual furniture looks so real, you’ll need to take high-resolution real estate photos in order to make sure your images don’t end up looking fake.
Using a DSLR camera and shooting in a RAW file format will give your virtual staging editors the best change to make your images look as realistic as possible.
2. Use a camera with high dynamic range (HDR)
The wide range of lighting in real estate photography makes it necessary to take images using a DSLR (Digital Single Lens Reflex) camera. Cheap cameras or even high-end smartphones generally lack the ability to handle such a wide range of lighting.
Therefore, it’s best to use a DSLR with an auto exposure bracketing feature. This will let you use high dynamic range (HDR) imaging so your image is ready to be virtually staged.
Bracketed images are blended together using photo-editing software. The result is a single photo wherein all areas are in perfect exposure, emphasizing each detail beautifully.
3. Turn on all the lights
This is a best practice for any real estate photographer. One of the first things you’ll want to do in any home that your shooting is to turn on all of the lights in every room. This will help give the rooms a more natural and warm look. It’s also helpful for your virtual staging editors. By turning on all of the lights, the virtual stagers can better deal with shadows and shading, which helps make each room feel natural and realistic.
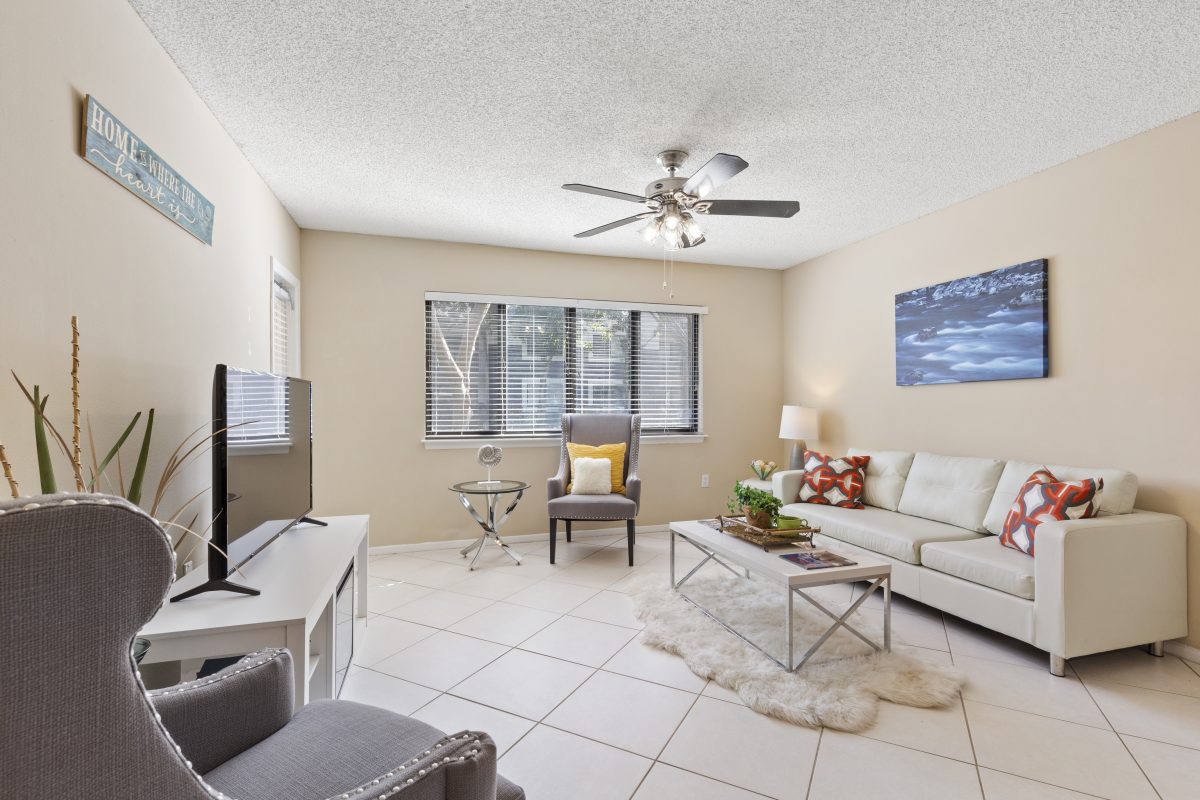
4. Keep rooms empty as much as possible
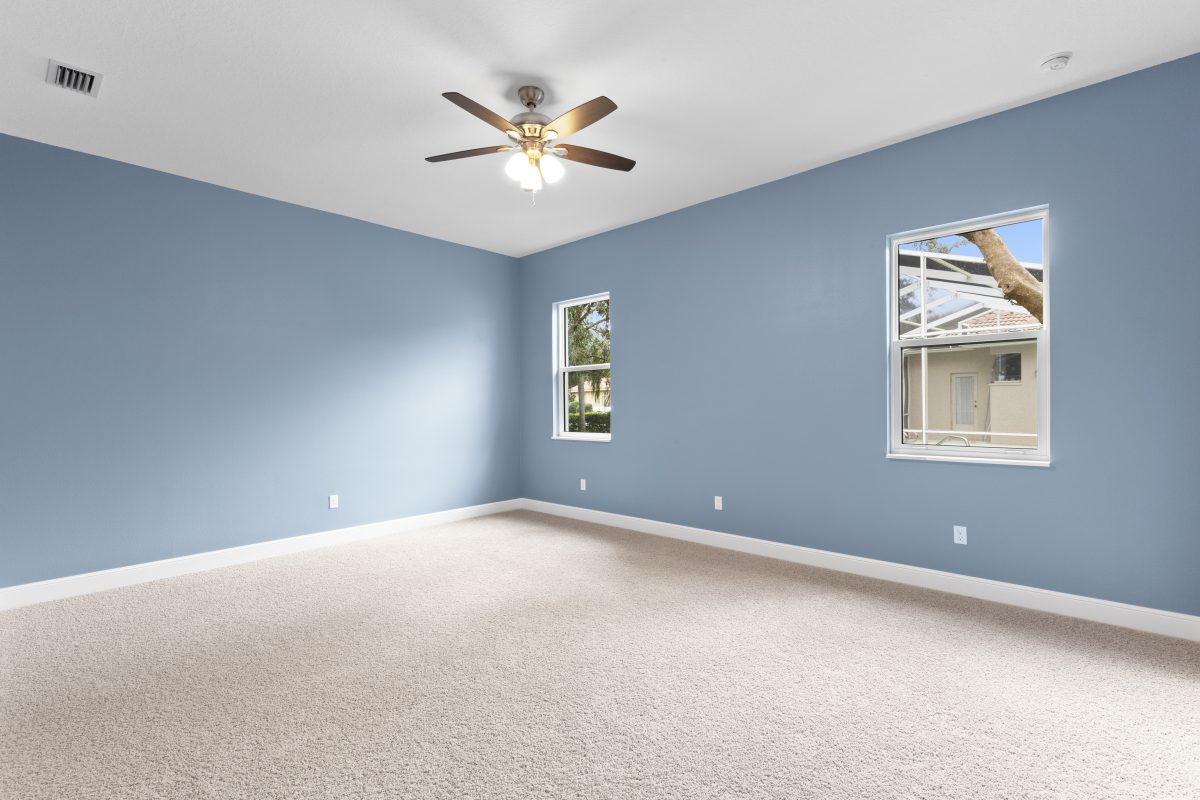
The primary purpose of virtual staging is to bring furniture and decor into a vacant house. As such, it is best to keep the rooms as empty as possible.
Take away distractions such as extra furniture, decorations, toys, and other unnecessary clutter. The emptier a room looks, the better. The goal is to make the room an empty canvas so that the virtual staging artist can work their magic!
5. Shoot in landscape
When orienting your shots, make sure the spaces are shot in landscape, not portrait. An image that is displayed in landscape mode is wider than it is tall. When it comes to real estate photography, landscape oriented photos show a lot more area, allowing graphic designers to use the maximum amount of space to add virtual furniture.