Although listing real estate videos play an important part in your marketing strategy. Agents, photographers can actually take advantage of the power of real estate video to immerse and move buyers to purchase. The National Association of Realtors found that 85% of buyers & sellers prefer to work with an agent who offers video marketing… but only 15% of agents actually use video to market their listings.
With a little practice, it’s easy to create listing stunning real estate videos that’ll get your properties moving.
1. Planning shots
You should already be familiar with the property, so make a shot list of all the rooms, outbuildings, porches, pergolas, and other pertinent features you want to capture beforehand. Focus on the interior first. Plan your shots like you would plan an actual walkthrough with a prospective buyer. Start with the entryway, then move into the living room or the next logical place. This will make the final edit feel natural as you take the buyer from shot to shot.
As a general rule, you’ll want your real estate video to contain around 75% interior shots and 25% exterior. You don’t need to show every nook and cranny of the property. Concentrate on the most visually appealing and emotionally moving parts—the selling points.
Pro tip:
Take still photos from all the vantage points you use to shoot video. Use the images to create a storyboard of your real estate video. The images will work as reminders and guides for the best angles and spots to put your camera. You can import all of your images into a storyboard template and organize them how you want.
Estimating length
Your video’s length depends on the size of the property. A video for a small, 2-bedroom apartment should be shorter than a sprawling 6-bedroom estate with 10 acres. To estimate length, take the number of planned shots and multiply them by 5 seconds per shot. That’ll give you an approximate run-time.
Ultimately, your real estate video’s length should be dictated by the shots that you capture. You don’t want to rush past the selling points of the property, but you also don’t want to induce yawning. Remember, it’s a video, so prospects can play it back or press pause for closer examination, so err on the side of shorter. For quality control, enlist friends and family to critique the video before you publish it.
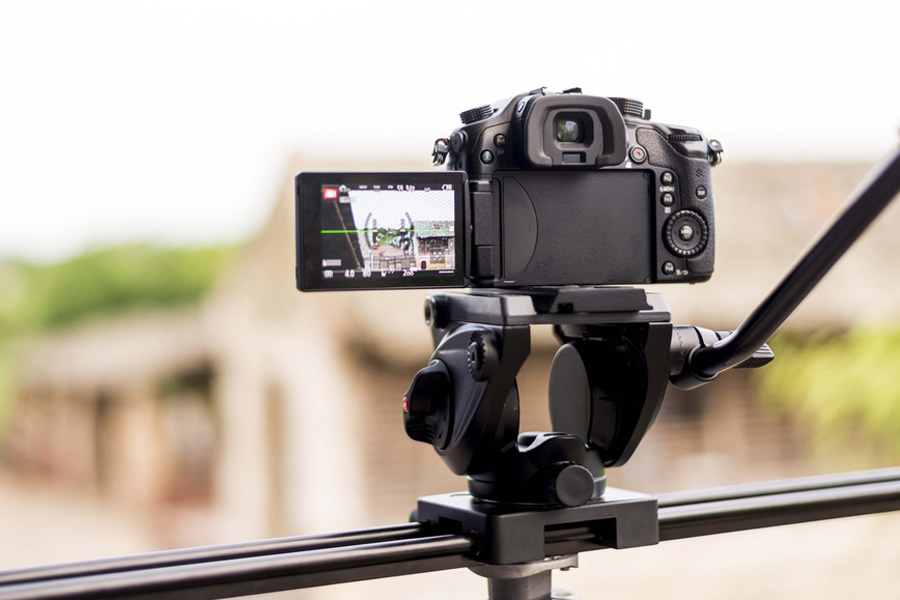
Using professional equipment
At minimum, you’re going to need a camera, a tripod, and some editing software. Many of today’s smartphone cameras work well enough to produce decent video footage, but a DSLR camera is a better choice for quality and flexibility.
A fluid head tripod is a must-have. A good tripod keeps your camera steady and lets you produce smooth, fluid movements. Jerky camera movements distract viewers and make your videos look amateurish.
Pro tip:
Handheld gimbal systems aren’t cheap, but they offer the ultimate in flexibility, compactness and convenience, letting you capture smooth, professional video without a tripod. Gimbal systems keep your shots steady even when you’re walking around, so you can create sweeping shots in any direction that look like scenes in Hollywood blockbusters.