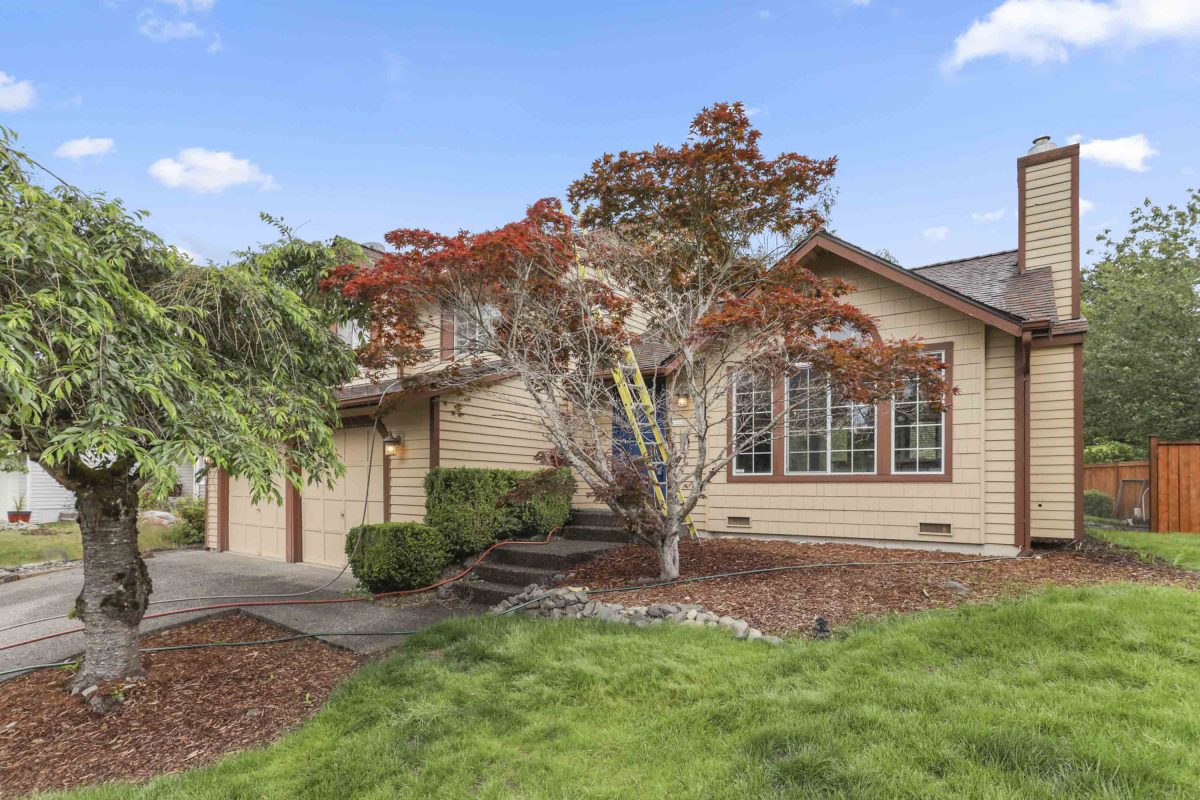
The post-processing for real estate photography editing takes a good amount of time for many photographers.
6. HDR
High dynamic range (HDR) is a technique photography editing that many real estate photographers use to create a greater dynamic range of luminosity. To create HDR images, make sure that you have shot your subject in different bracketed images. Then, all you have to do is merge the photos into one to show its highlights and shadows.
7. Lens correction
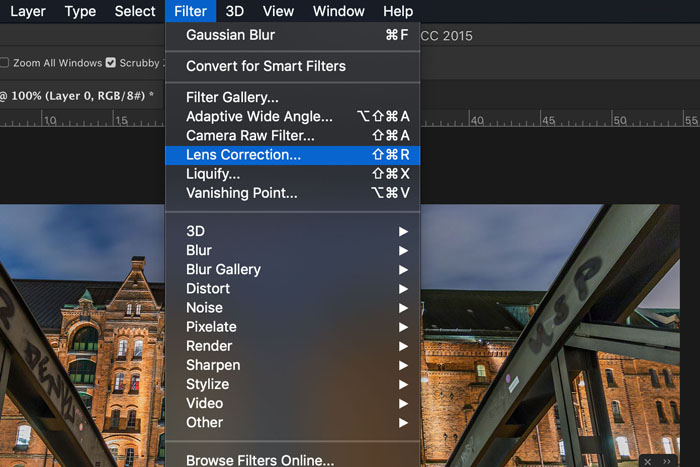
This is a handy tool that you can use in Lightroom. It corrects the optical issues found in most lenses. To use this, just go to the Lens Correction module and click Enable Profile Corrections. Then, click on Remove Color Aberration.
8. Curves
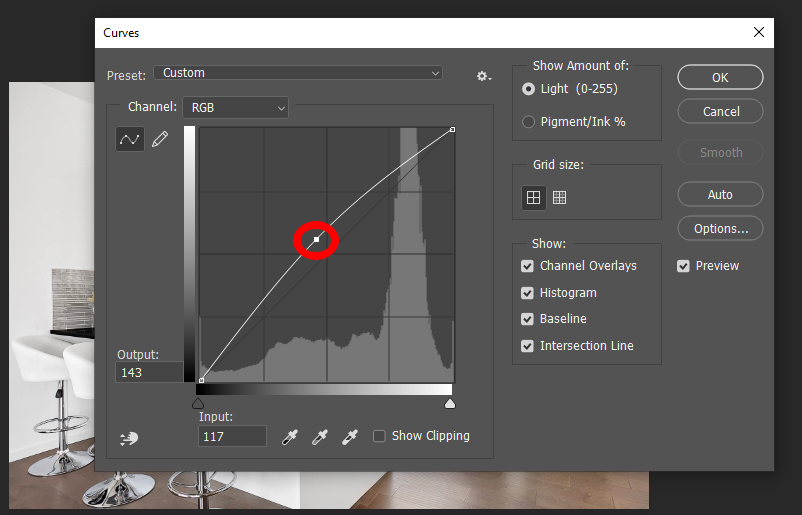
The Curves is a powerful tool in Photoshop. This can be used for color correcting and optimizing your colors. However, it can be an extensive tool that can be challenging to master. To use Curves, go to the Image menu, choose Adjustments and click on Curves. Click Auto in the dialog box. Drag the diagonal line at the center and pull it up to brighten the image or down to darken it. When you’re already happy with the outcome, click OK. You can freely play around with this tool and experiment in order to achieve the look that you want.
9. Using image processor
The image processor allows you to resize your photos in batches. This is a time-saving tool, especially if you are working on hundreds of images that will have to be used in different mediums. To use the image processor tool, select File menu and click on Image Processor. Choose Folder in the dialog box and save in the same location. Choose JPEG as file type and click on Resize to fit and put in your desired dimensions. Make sure that you include the ICC profile and click Run.
10. Playing with hue and saturation
Hue and Saturation is another helpful tool in Photoshop. This can be used for color correction and is also similar to Curves. However, Hue and Saturation can be used to enhance the greens on exterior and landscape photos. To use Hue and Saturation, go to Image menu, choose Adjustments, and click on Hue and Saturation. Choose Yellow from the dialog box. Increase the hue and decrease the saturation and lightness. Change the option from Yellow to Green and repeat the changes you’ve made to hue, saturation, and lightness. Then, click OK.